Contact form
2026-09-07
Measure arbor stick-out before you stack the set.
By Mr Ayanda Baloyi, workshop lead
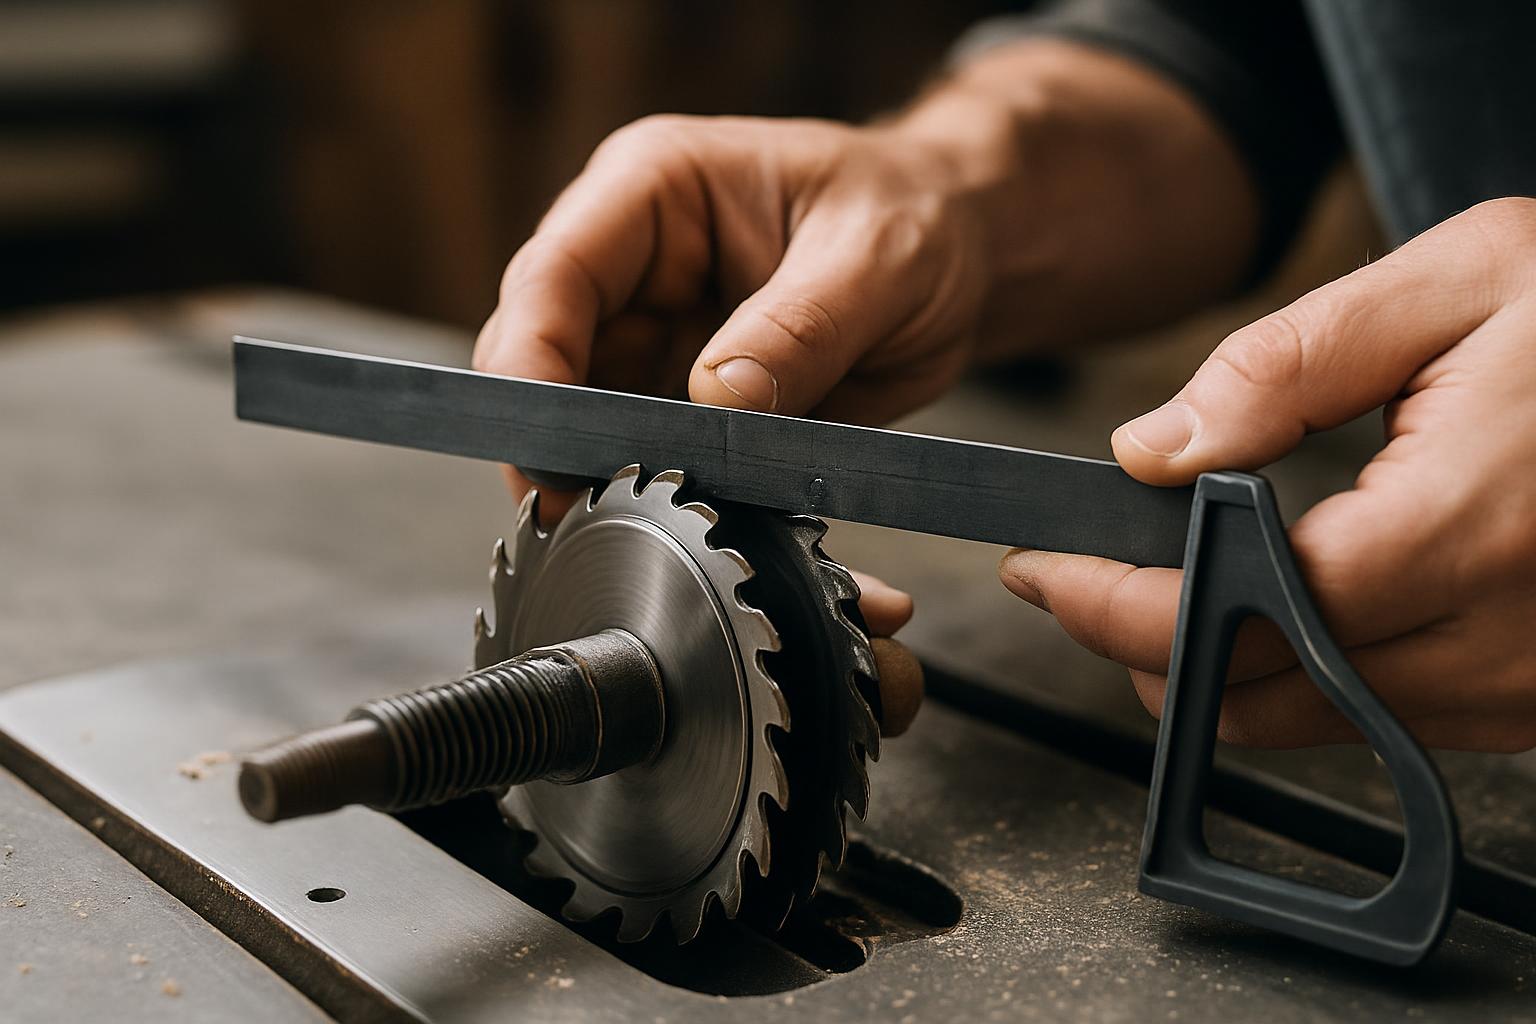
A dado set only clamps safely when enough threaded arbor remains after both outer blades, chippers and any shims are fitted. On South African workshop saws, that difference can decide whether an 8 mm housing is routine or not possible on the machine in front of you.
Mr Ayanda Baloyi centres the check on one point: how much usable arbor is left once the full dado stack is on the shaft. The focus stays on measured stick-out, thread engagement and outer blade seating, especially where resin build-up or fine MDF dust can steal a few important millimetres.
Do the measurement before power-up, not after a test cut chat starts. A quick ruler check is not enough if the shoulder, flange or washer has wear marks, so seat every part fully and verify the nut catches cleanly on the thread. One incorrect stack can bruise the workpiece and damage the set.
Use this note together with the relevant blade path and material path when the groove width and board type are being planned. Plywood housings, melamine trenching and solid timber rebates do not all need the same stack height or feed approach. If you send a query through our contact form, name the saw model and the final groove width so arbor length can be judged against the actual setup.
Contractor saws, cabinet saws and older spindle assemblies do not offer the same usable arbor length, even when blade diameter matches. Johannesburg dust can stop a chipper from seating flat, while Durban humidity can swell sheet goods and push crews toward a wider trench than first planned. Load-shedding also matters, because rushed restarts are where missing shims and half-seated washers get overlooked.
If your machine cannot carry the planned stack safely, move to a different cutting method rather than forcing the nut onto too little thread. Check related entries under Kerfs when a router, multiple-pass saw cut or alternate blade plan is the safer route.
Start with the required groove width from the drawing, then build the stack on the bench and measure total width before it goes near the saw. Fit the stack, seat the flange, and confirm the arbor nut engages with enough thread to clamp the outer blade properly. In Kya Sands shops, this check often happens before the first sheet is broken down so one saw limitation does not stall the whole cutting list.
For veneered board, keep shims tidy and write the exact stack recipe down so the finish side is not tested by guesswork later. For solid pine or meranti, resin on the flange area should be cleaned before the next width change. On chipboard runs, recheck clamping after blade swaps because fine dust packs tightly around spacers.
When using our contact form, send three useful details: city, saw model, and intended dado width. Add whether the set includes paper or metal shims, because that changes stack thickness and the final arbor margin. That gives a clearer starting point than a photo of the loose blades on a bench.
This catalogue page is about verifying fit, not stretching a machine beyond its design. Some arbors simply do not have enough length for wider dado combinations, and that is a machine limit rather than a setup mistake. When the stock family changes, repeat the check instead of assuming yesterday's stack still suits today's cut list.
Verified Google reviews